This is a small SRE/DevOps guide to deploy AWX on a kubernetes cluster on top of a RockyLinux 9.3 installation using awx-operator and Lightweight Kubernetes (k3s)
The first requirement would be to have a working RockyLinux 9.3 installation
Installing Lightweight Kubernetes
There are many different ways to achieve this. The way I would normally deploy the latest version is by using the following command
curl -sfL https://get.k3s.io | sh -
sudo k3s kubectl get node
Generating a token:
sudo k3s kubectl config view --raw >> ~/config_k3s.yam
Protect this file accordingly or kubernetes will remind you of the admin good practises you should know about already.
Adding a variable (You can leave this default too)
export KUBECONFIG=~/config_k3s.yaml
Installing HELM CLI
Please visit This repository to download the apropriate version for your architecture. In this document I am using AMD64
Download the tar gzipped file and extract anywhere convenient
mv helm-v3.14.2-linux-amd64.tar.gz /tmp; tar -xzvf helm-v3.14.2-linux-amd64.tar.gz
In the extracted directory look for the helm binary file, make sure it has executable permissions and place it in /usr/local/bin
#For example:
sudo mv linux-amd64/helm /usr/local/bin
chmod a+x /usr/local/bin/helm
Installing AWX Operator
helm repo add awx-operator https://ansible.github.io/awx-operator/
Installing the operator within our cluster via helm
helm install ansible-awx-operator awx-operator/awx-operator -n awx --create-namespace
Now let us validate that the operator pod –which will later install the components that we need– is in Running state:
[alexia@andromeda ~] $ kubectl get pods -n awx
Due to the fact that k3s comes with a default storage class for creating volumes within the machine where it runs, the following step is used to define a Volume Claim and a Custom Resource Definition. If we would like to explore the complete list of installed AWX’s crds we could run
kubectl get crds awxs.awx.ansible.com -o yaml
For our use case we will do this by creating a .yaml file. For example awx_manifest_for_operator.yaml
---
apiVersion: v1
kind: PersistentVolumeClaim
metadata:
  name: postgres-13-ansible-awx-postgres-13-0
  namespace: awx
spec:
  storageClassName: local-path
  accessModes:
    - ReadWriteOnce
  resources:
    requests:
      storage: 10Gi
---
apiVersion: awx.ansible.com/v1beta1
kind: AWX
metadata:
  name: ansible-awx
  namespace: awx
spec:
  service_type: nodeport
  postgres_storage_class: local-path
Now it can be applied against the cluster running:
kubectl apply -f awx_manifest_for_operator.yaml
After a moment, the awx namespace should have the pods being excecuted
[alexia@andromeda ~] $ sudo kubectl get pods -n awx
NAME                                               READY   STATUS    RESTARTS         AGE
ansible-awx-postgres-13-0                          1/1     Running   6 (4m25s ago)    39h
ansible-awx-web-7d458cd684-v458k                   3/3     Running   20 (4m25s ago)   39h
ansible-awx-task-6dfd5dcdb7-4fz7q                  4/4     Running   27 (4m25s ago)   39h
awx-operator-controller-manager-64df47d889-wkp5w   2/2     Running   19 (4m25s ago)   40h
[alexia@andromeda ~] $
Lastly, we expose the deployment of AWX
kubectl expose deployment ansible-awx-web --name ansible-awx-web-svc --type NodePort -n awx
We need to obtain the admin password for initial login (If you are not using domain credentials via LDAP et al)
Username will be admin, and the password can be obtained by excecuting the following command:
kubectl get secret ansible-awx-admin-password -o jsonpath="{.data.password}" -n awx | base64 --decode ; echo
Store it somewhere safe, and change it once you have logged in.
We need to obtain the port for the web interface. We can look this up in several ways, but since we’re working with kubectl, a quick way would be just by listing the svc:
[alexia@andromeda ~] $ sudo kubectl get svc -n awx ansible-awx-web-svc
NAME                  TYPE       CLUSTER-IP    EXTERNAL-IP   PORT(S)          AGE
ansible-awx-web-svc   NodePort   10.43.66.87   <none>        8052:30087/TCP   53m
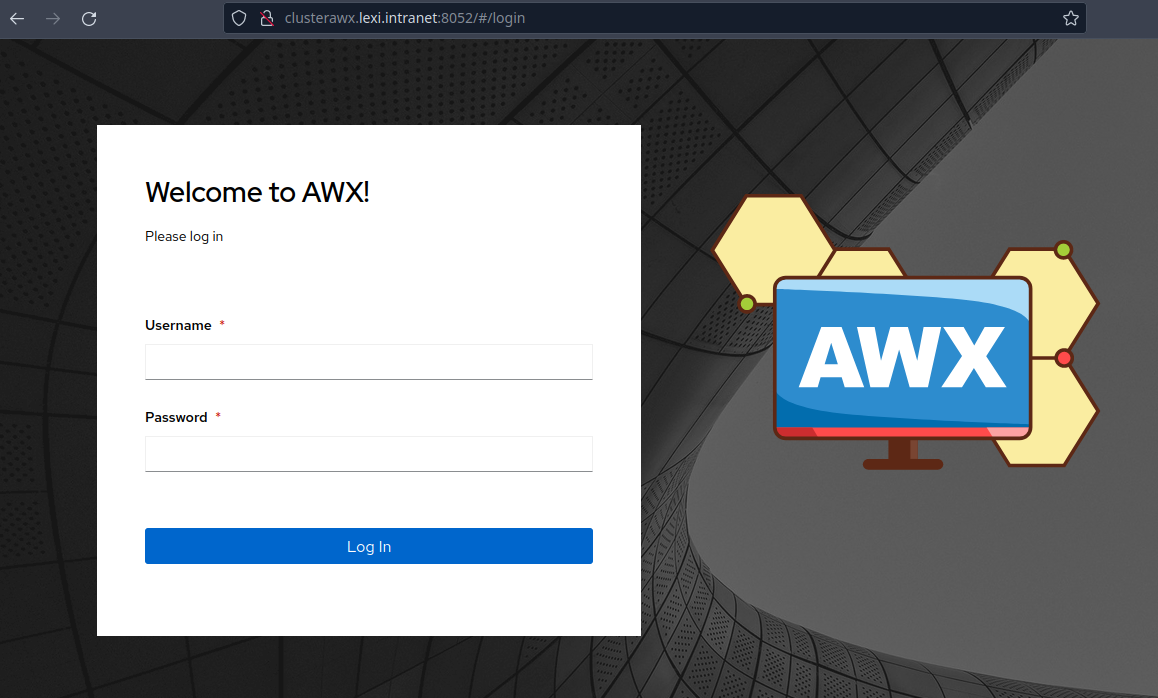
And that’s really it. We can now login to AWX via web interface and start to migrate or setup our awx cluster.

Adding a worker node to your cluster to distribute the load
The requirement for this is the same as above. Another rockylinux installation within the same network
Get the token from the master node
sudo cat /var/lib/rancher/k3s/server/node-token
You can also get the master’s IP by running the following command in the master node:
sudo k3s kubectl config view --raw
Installing Lightweight Kubernetes as a worker node in your worker node (heh)
This time, however, we will install the node using the IP of the master and the token
curl -sfL https://get.k3s.io | K3S_URL=https://ip-of-your-master-server:6443 K3S_TOKEN="paste the token obtained in the master node here" sh -
Set Agent (worker) as default start instead of Master
sudo systemctl enable --now k3s-agent
Now you should be able to see the worker node within the cluster
sudo kubectl get nodes
The result should read:
[alexia@andromeda ~] $ sudo kubectl get nodes
NAME                      STATUS   ROLES                  AGE   VERSION
vulcano.lexi.intranet     Ready    <none>                 13m   v1.28.7+k3s1
andromeda.lcds.intranet   Ready    control-plane,master   43h   v1.28.7+k3s1
[alexia@andromeda ~] $
Alternatively, the worker node could be initiated by using the following command:
sudo k3s agent ---server https://your-master-server-ip:6443 --token "your-token-here"
I hope you enjoyed it and if you have any further questions feel free to contact me or anyone else in the community at our official forums https://forums.rockylinux.org or over Mattermost
Alexia.